说明:关于FileRun多用户网盘之前已经介绍过了,参考:File Run-多功能的VPS文件管理器,对于安装方法,只是简单的说了下,估计还有很多人不会安装,这里就详细的说下安装方法,不得不说这个网盘安装过程有点坑爹,特别是在PHP配置方面,博主花了很久才配置完全。本教程使用2种方法安装,使用宝塔面板和手动编译安装,对于新手建议直接用宝塔,爱折腾的可以用编译的方法,后者要快些,不过相对前者更容易出问题。
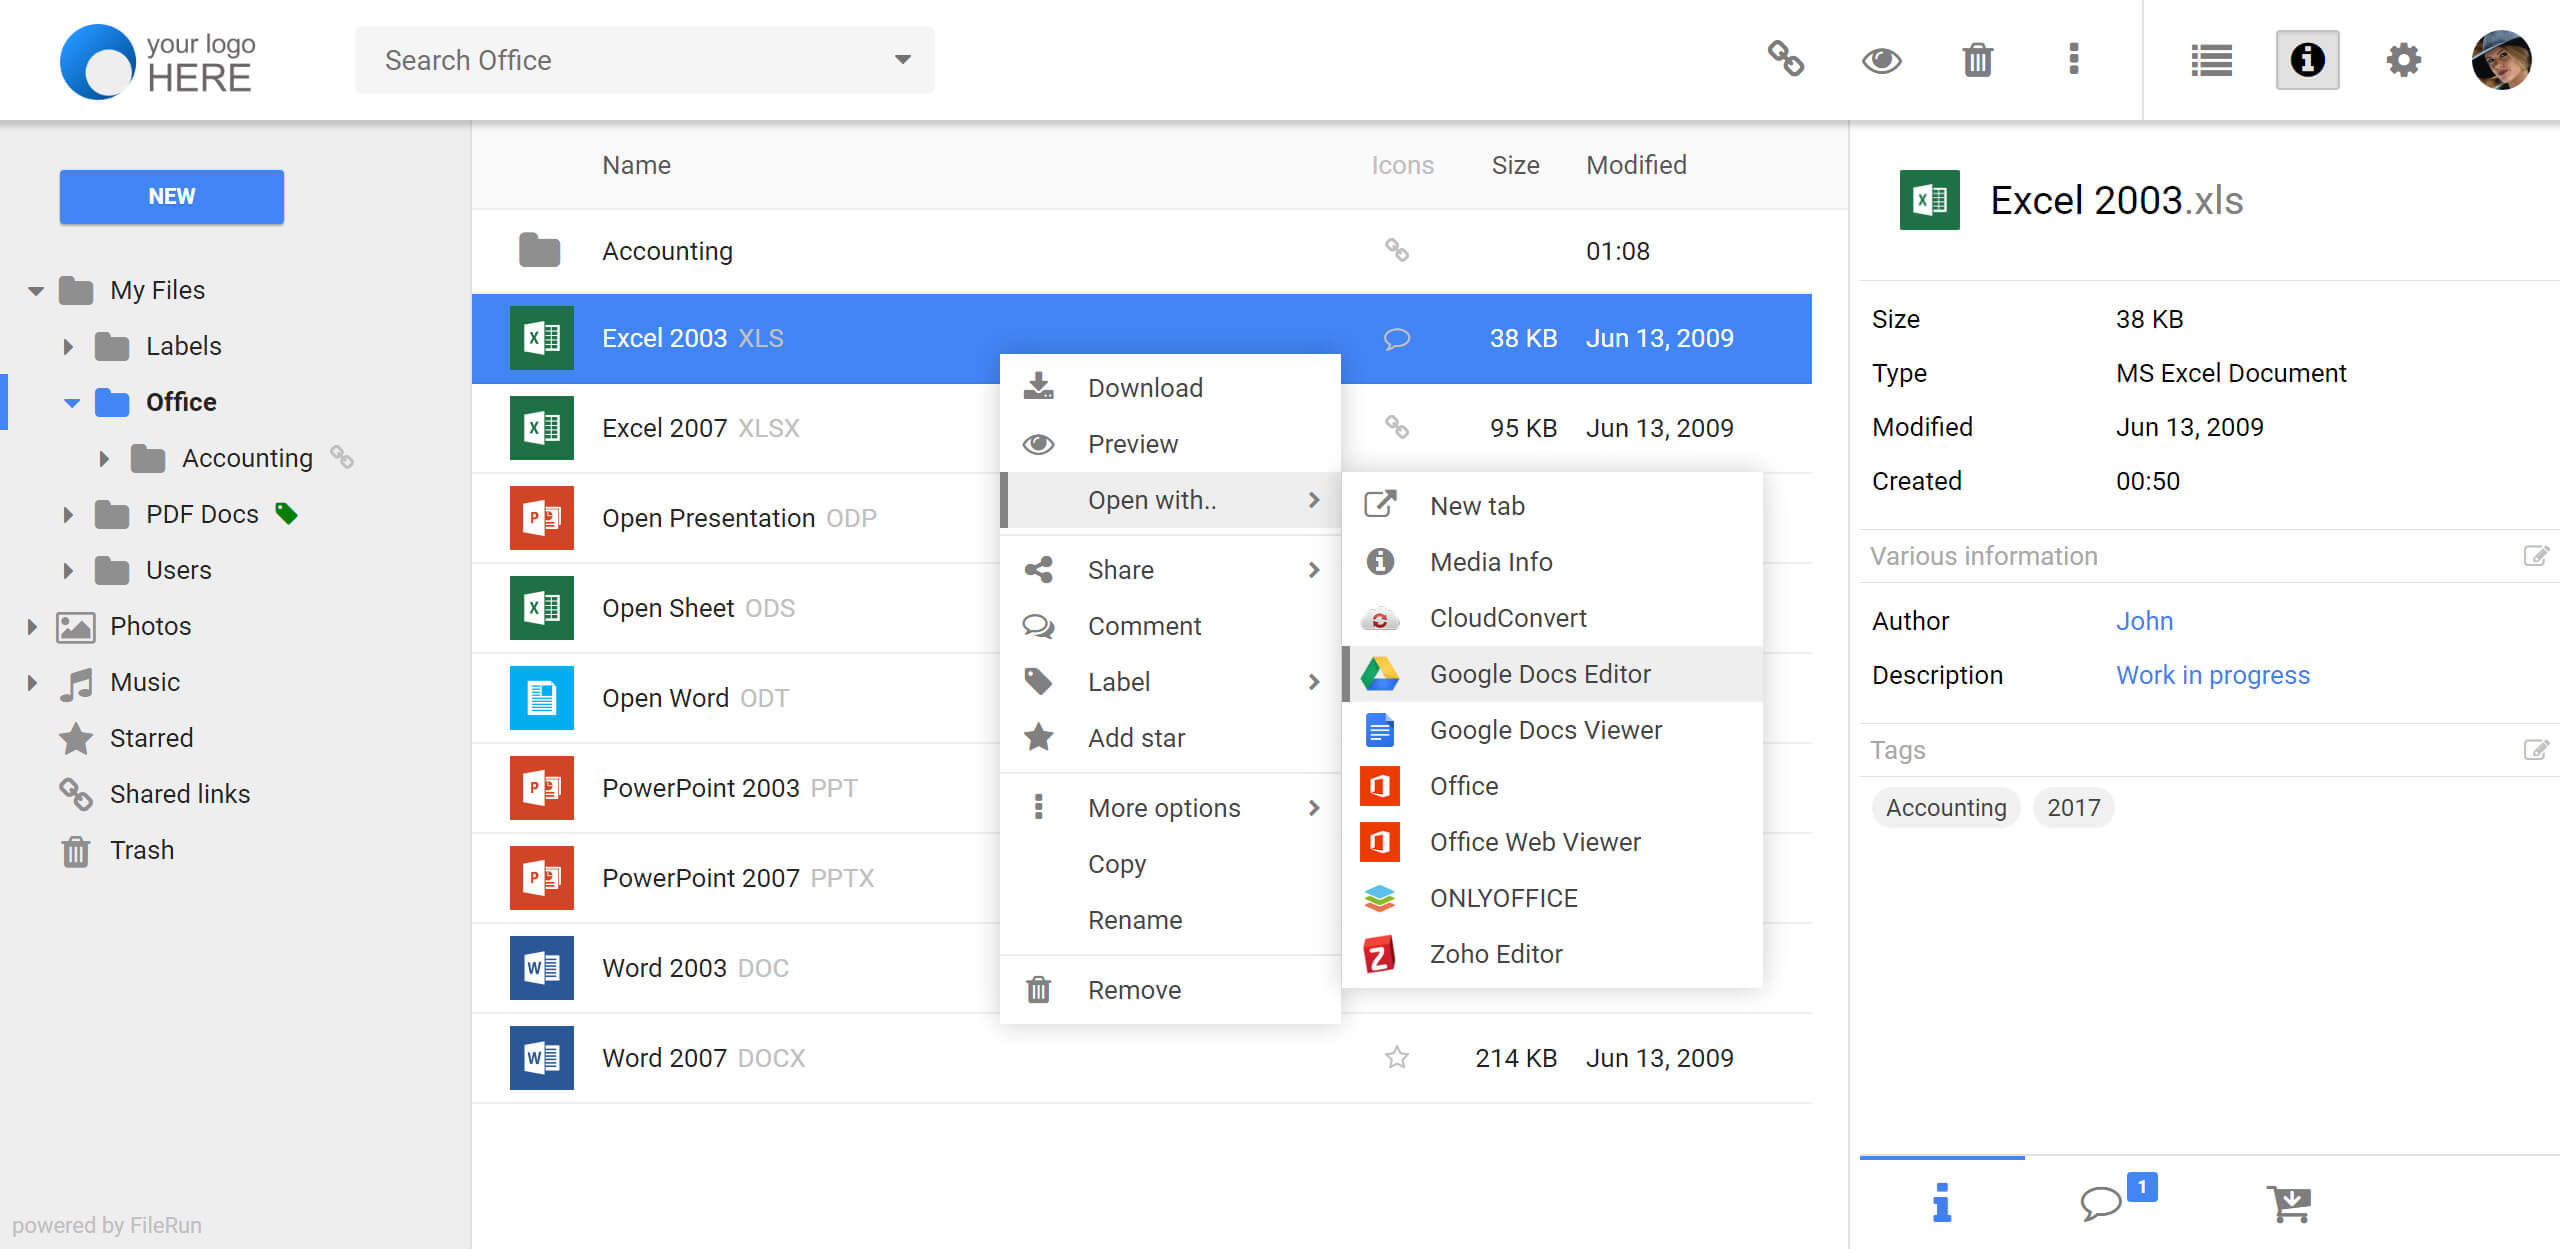
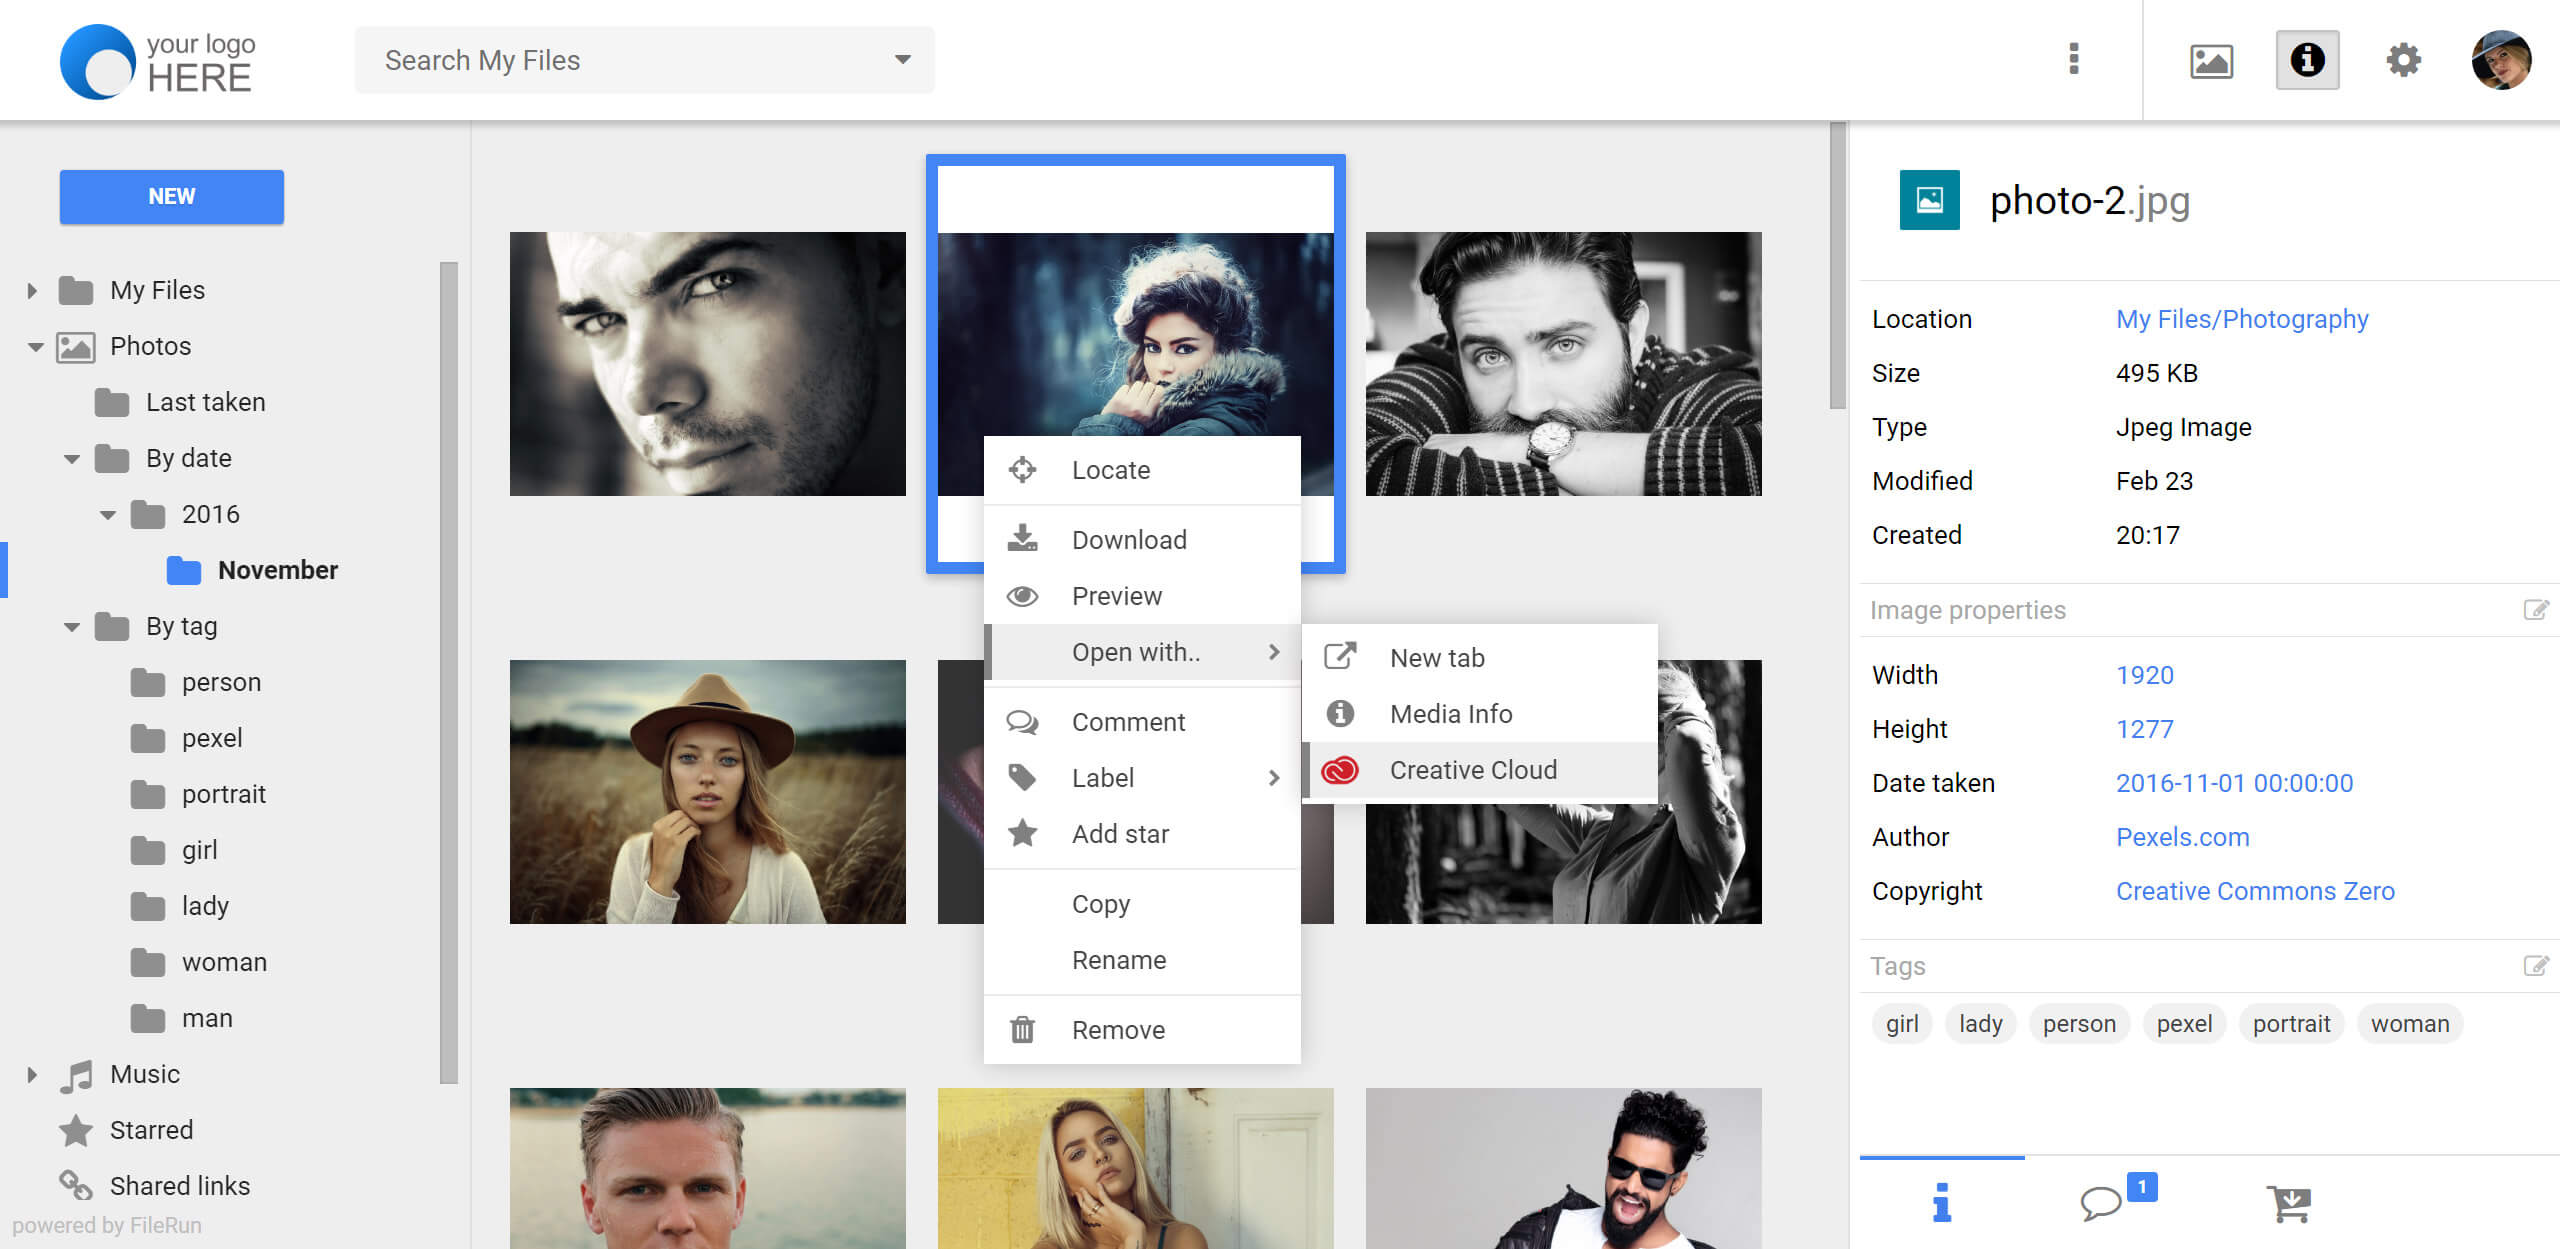
截图
方法一
1、安装宝塔面板
#Centos系统
yum install -y wget && wget -O install.sh http://download.bt.cn/install/install.sh && sh install.sh

#Ubuntu系统
wget -O install.sh http://download.bt.cn/install/install-ubuntu.sh && sudo bash install.sh

#Debian系统
wget -O install.sh http://download.bt.cn/install/install-ubuntu.sh && bash install.sh
安装完成会给面板地址,用户名和密码你。
2、安装环境并上传FileRun
进入面板后,根据提示安装nginx,php 7.0,mysql 5.6环境,再添加域名,解析域名,然后将FileRun程序下载并上传解压到网站根目录,并建好数据库。FileRun程序下载地址:https://www.filerun.com/download。
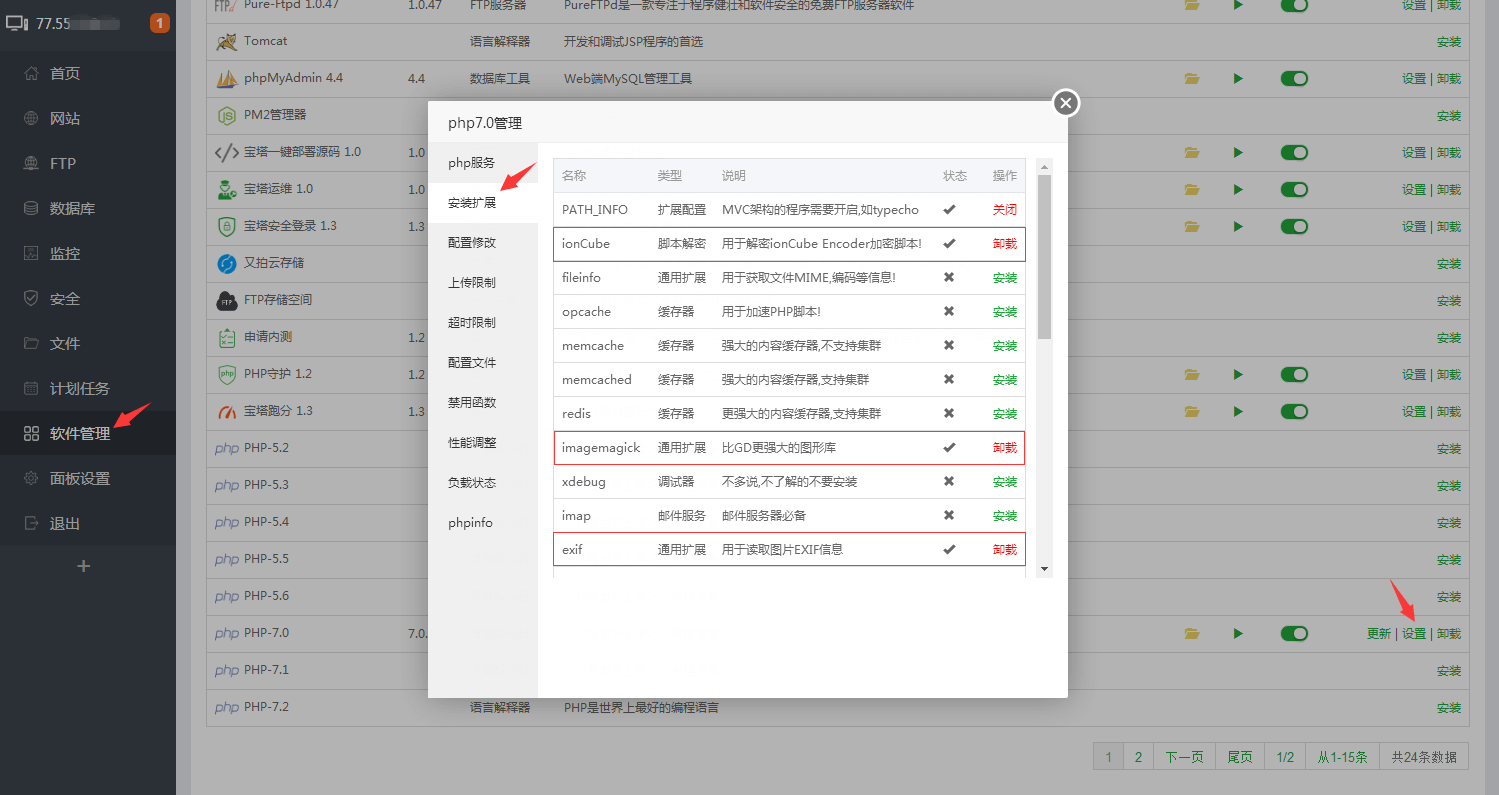
3、安装PHP拓展Filerun需要安装ionCube、imagemagick和Exif拓展。可进入PHP管理进行安装。
4、修改PHP配置文件
和步骤3一样,同样的在PHP管理里找到配置文件,进行如下修改:
#找到open_basedir,大概在293行,记得替换成你的域名
open_basedir = /www/wwwroot/yourdomain.com/:/tmp/:/proc/

#找到disable_functions,大概在298行
删掉exec,代码即可。编辑好了后,重启PHP。
5、安装FileRun程序
打开域名,根据提示检查配置信息后,再输入数据库名称、用户名、密码安装FileRun程序。
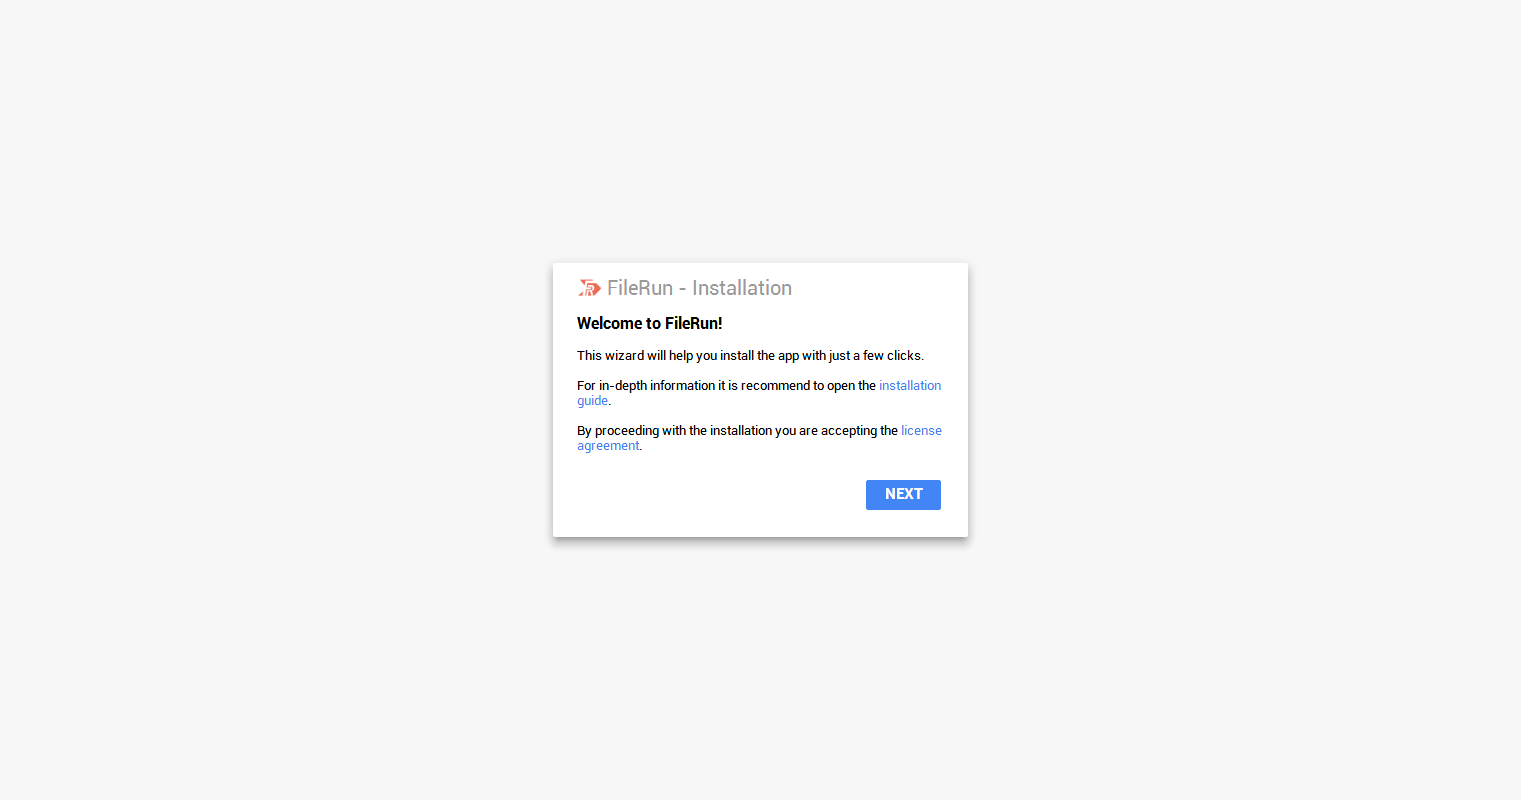
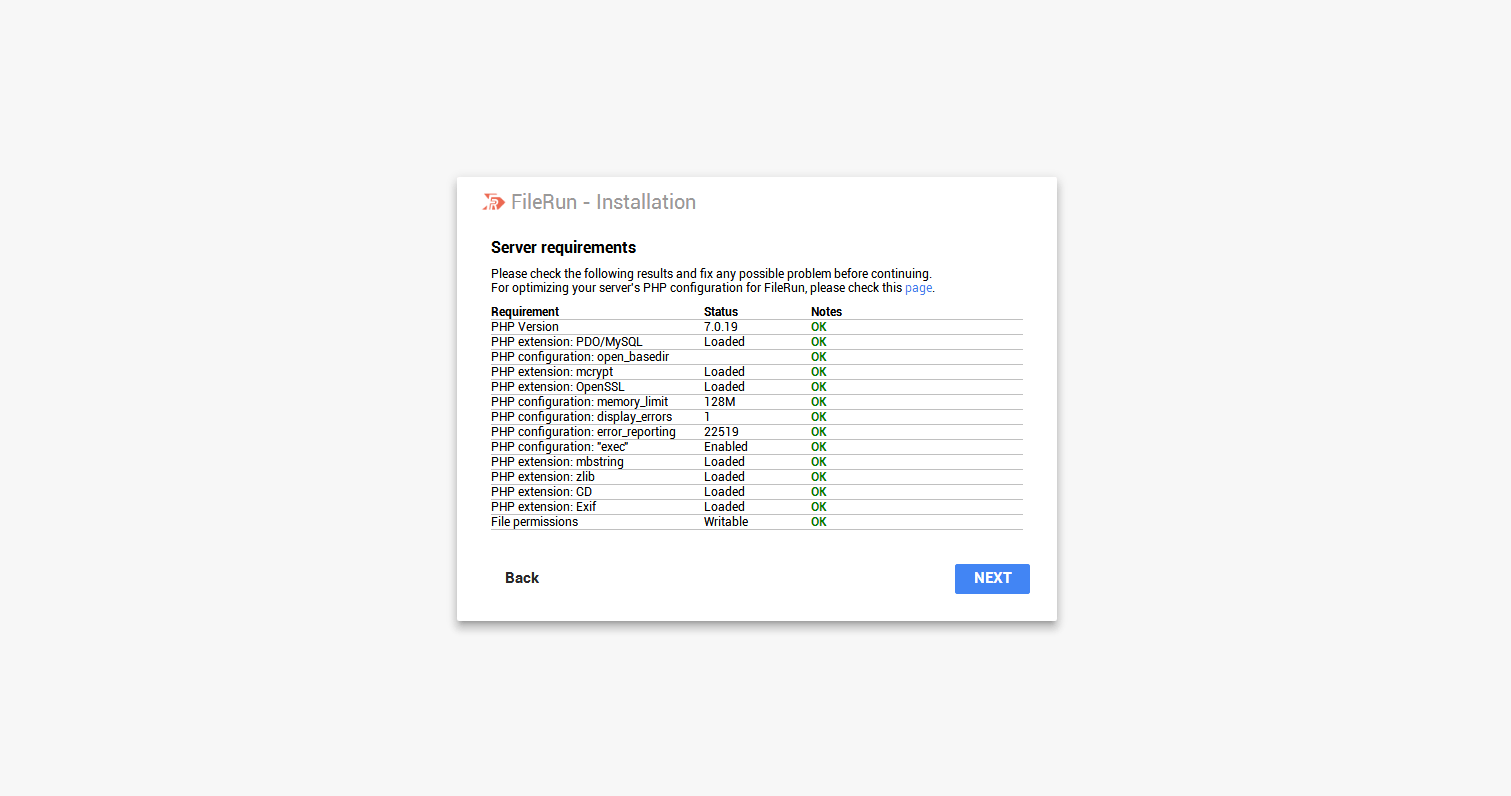
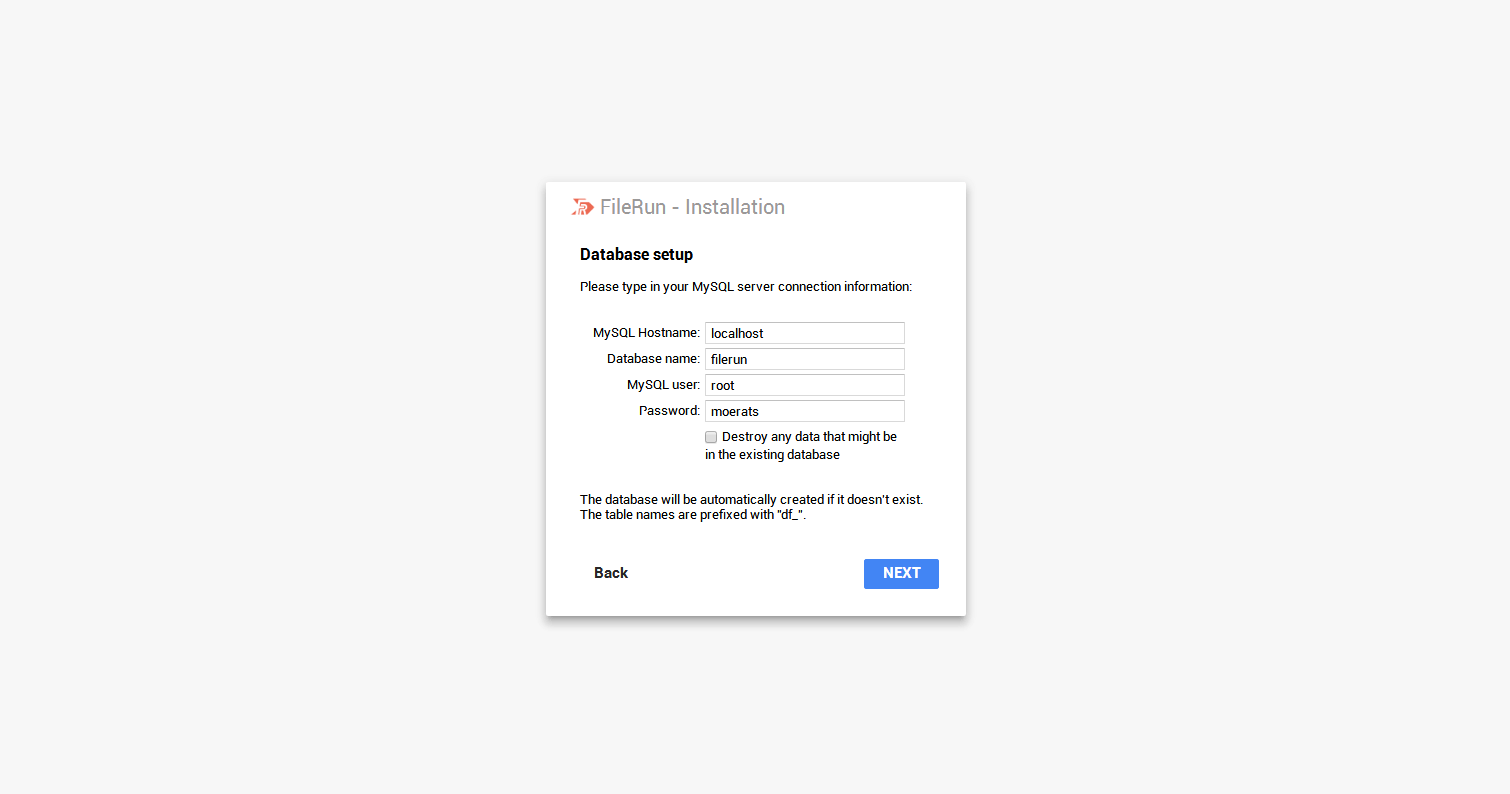
安装成功显示如下信息。
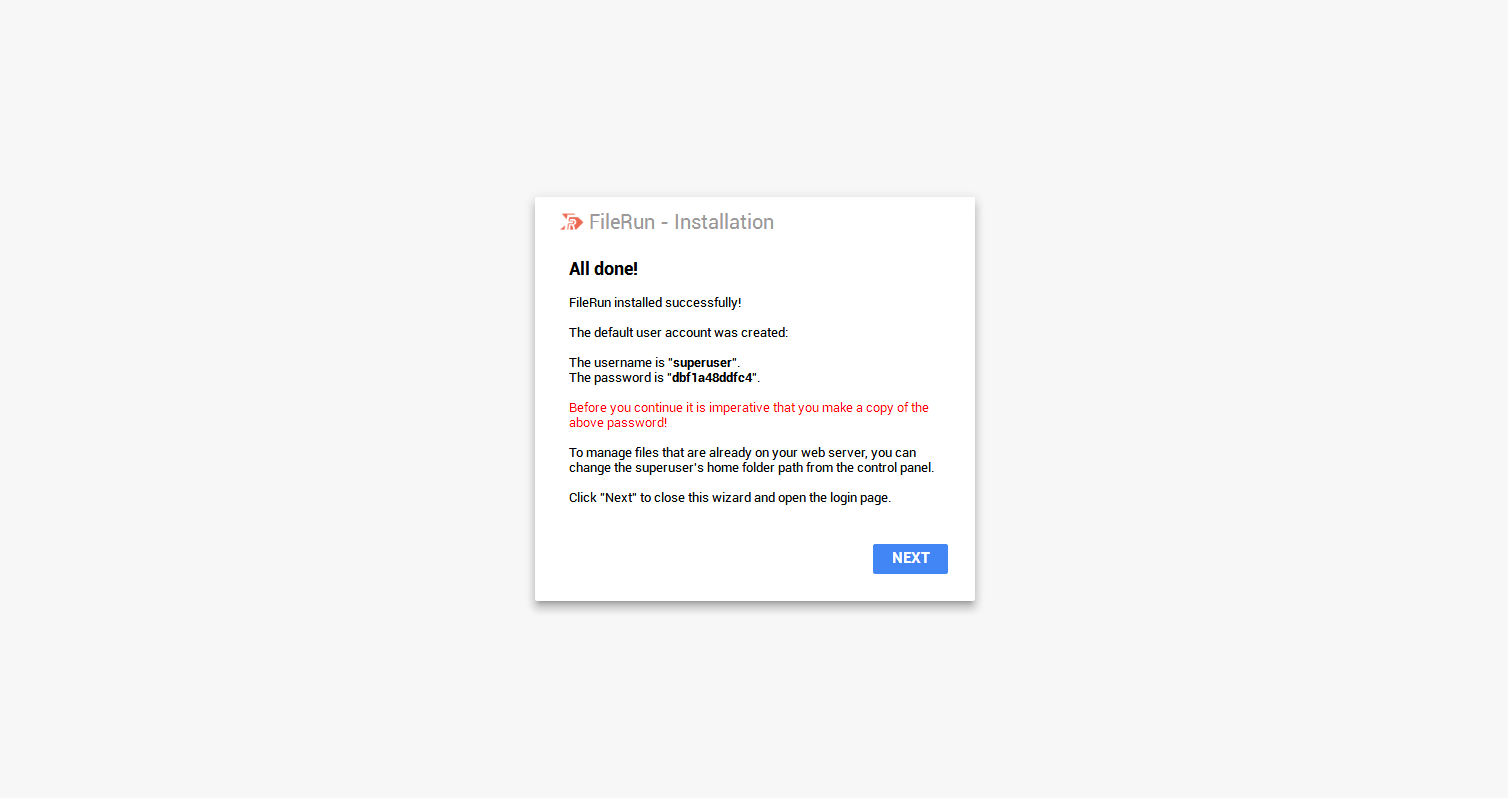
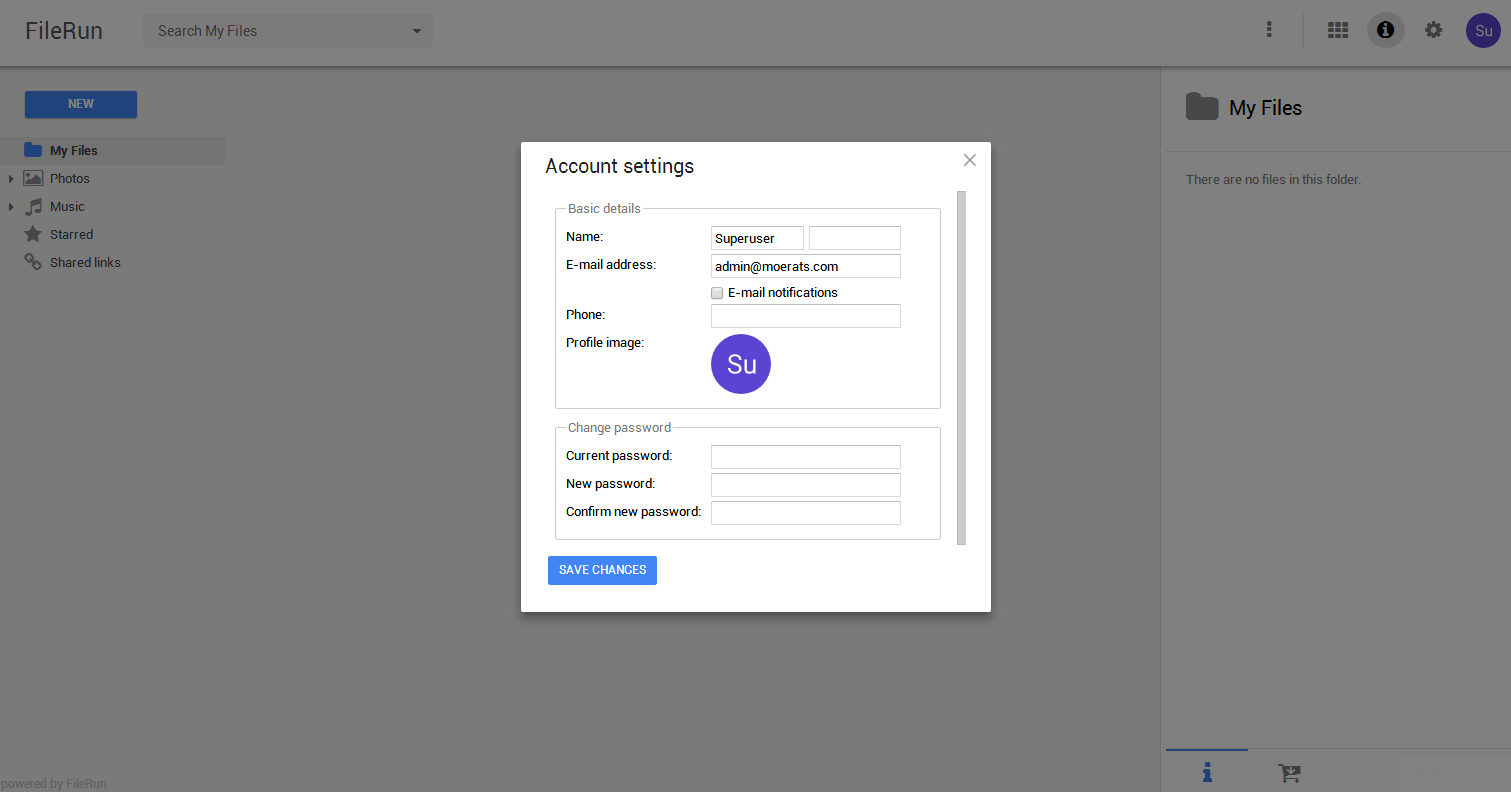
最后就可以直接登录,第一次会要你修改密码等信息。
方法二
本教程在CentOS 7下测试成功。编译的环境为Apache,Mysql 5.6和PHP 7.0。
1、安装Apache
#安装并启动Apache Web服务器
yum install httpd -y
systemctl start httpd.service此时我们进入http://ip地址可以看到Apache欢迎页面。
2、安装Mysql 5.6
#下载并安装Mysql
wget http://repo.mysql.com/mysql-community-release-el7-5.noarch.rpm
rpm -ivh mysql-community-release-el7-5.noarch.rpm
yum install mysql-server

#设置权限
chown -R root:root /var/lib/mysql
service mysqld restart

#重置Mysql密码
mysql -u root
use mysql;
update user set password=password('moerats') where user='root';
exit;

#重启数据库
service mysqld restart

#创建数据库
mysql -uroot -p
create database filerun;
exit;
3、安装PHP 7.0
#更新yum源
rpm -Uvh http://dl.fedoraproject.org/pub/epel/epel-release-latest-7.noarch.rpm
rpm -Uvh http://rpms.famillecollet.com/enterprise/remi-release-7.rpm

#安装PHP并启动
yum install php70w-fpm
systemctl enable php-fpm.service
systemctl start php-fpm.service为了在Apache上使用PHP-FPM,我们需要编辑Apache配置文件。
vi /etc/httpd/conf/httpd.conf在最后即IncludeOptional conf.d/*.conf之前添加以下代码:
*ProxyPassMatch ^/(.*\.php(/.*)?)$ fcgi://127.0.0.1:9000/var/www/html/$1 ``` 并在`DirectoryIndex`指令后面添加`index.php`即: ``` DirectoryIndex index.html index.php #大约在164行 ``` 再重新启动`Apache`。 ``` systemctl restart httpd.service ``` **4、配置PHP 7.0** 安装`FileRun`所需的`PHP`模块 ``` yum install php70w-mbstring php70w-mcrypt php70w-opcache php70w-pdo php70w-mysql php70w-gd php70w-xml ``` 安装`ionCube`模块 ``` cd /usr/lib64/php/modules yum install wget -y wget http://downloads3.ioncube.com/loader_downloads/ioncube_loaders_lin_x86-64.tar.gz tar xvfz ioncube_loaders_lin_x86-64.tar.gz ``` 在`/etc/php.d`文件夹创建并编辑`filerun.ini`文件,可以使用`FTP`工具完成,也可以直接使用以下命令: ``` #以下是一整个命令,一起复制运行即可。 echo "expose_php = Off error_reporting = E_ALL & ~E_NOTICE display_errors = On display_startup_errors = Off log_errors = On ignore_repeated_errors = Off allow_url_fopen = On allow_url_include = Off variables_order = "GPCS" allow_webdav_methods = On memory_limit = 128M max_execution_time = 300 output_buffering = Off output_handler = "" zlib.output_compression = Off zlib.output_handler = "" safe_mode = Off register_globals = Off magic_quotes_gpc = Off upload_max_filesize = 20M post_max_size = 20M enable_dl = Off disable_functions = "" disable_classes = "" session.save_handler = files session.use_cookies = 1 session.use_only_cookies = 1 session.auto_start = 0 session.cookie_lifetime = 0 session.cookie_httponly = 1 date.timezone = "UTC" zend_extension = /usr/lib64/php/modules/ioncube/ioncube_loader_lin_7.0.so" > /etc/php.d/filerun.ini ``` 重启`PHP` ``` systemctl restart php-fpm.service ``` **5、安装FileRun** ``` #下载最新版本FileRun cd /var/www/html/ wget -O FileRun.zip http://www.filerun.com/download-latest #解压 yum install unzip unzip FileRun.zip #授权目录 chown -R apache:apache /var/www/html/ ``` 最后打开`IP`地址填入相关信息就可以安装了。版权声明:本文为原创文章,版权归 Rat's Blog 所有,转载请注明出处! `Vultr`新用户注册送`100`美元/`16`个机房按小时计费,支持支付宝,【点击查看】。*

    <div
